

This article will guide you step by step DNS zone.
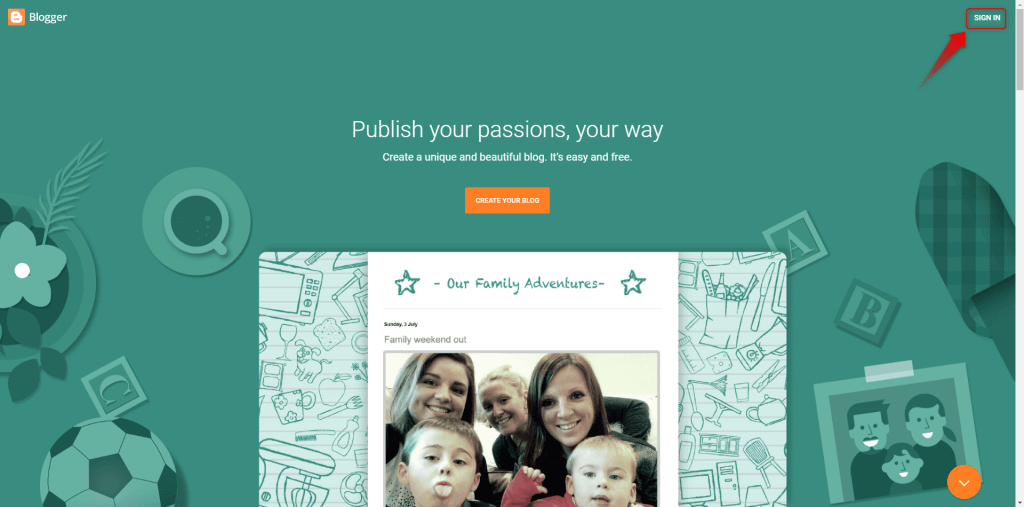
1. Login to your Blogger by clicking on the “SIGN IN” option on top right of your screen shown as per below image:-
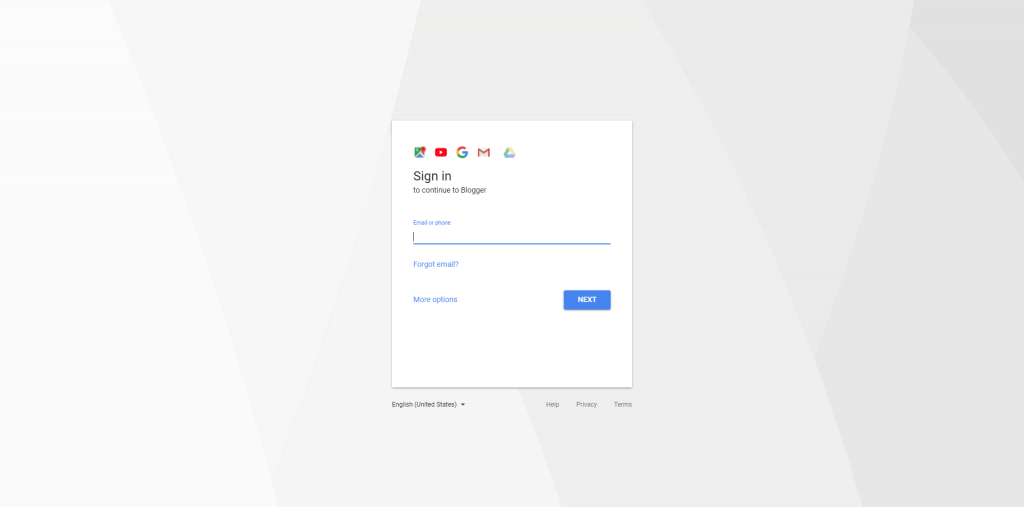
2. Login in with your Google account as per below:-
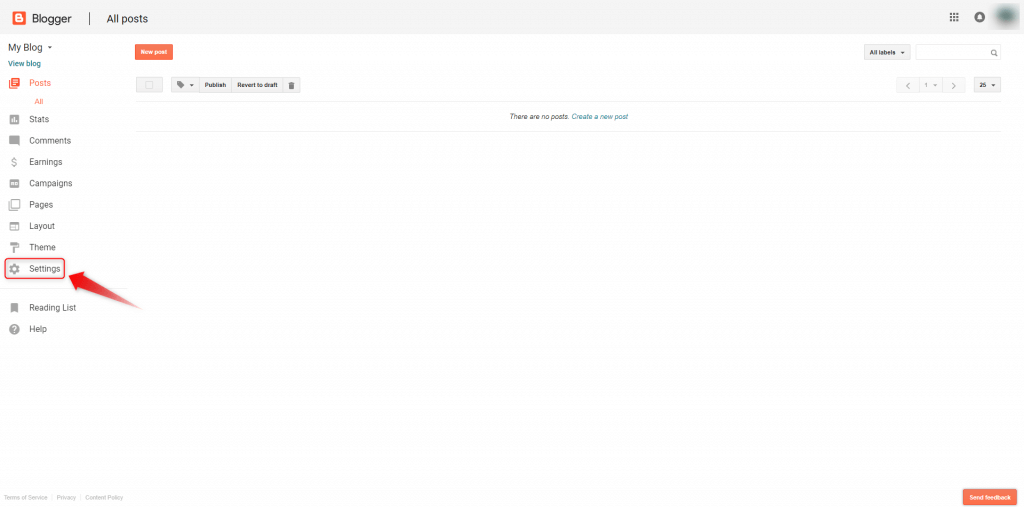
3. You will see such screen when you are inside and you need to click on “Settings” as per below image:-
4. Once you are inside the “Settings” page just make sure that is at the “Basic” section and if not just click on it to get to as per below page:-
5. Click on the “+ Setup a 3rd party URL for your blog” to get more settings.
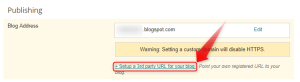
6. Once click you will see as per below image:-
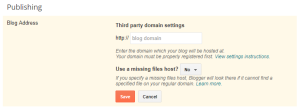
7. Apply the domain name inside the field as per below and click “Save” to get further instruction as per below image:-
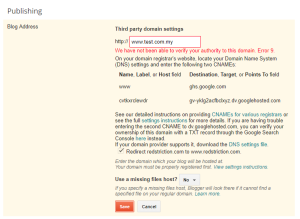
8. This is where you login to your hosting control panel to edit add in this records:-
May refer below for adding record on Windows base hosting and Linux base hosting:-
Windows:-
1. login to your control panel and click on “Domains”
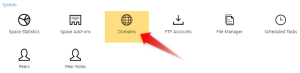
2. Select the domain involve by clicking on it:-
![]()
3. Click on “Edit DNS zone records”:-
![]()
4. Click the pencil like icon to edit the “WWW” record and point to the said record provided by Blogger on steps 7.
![]()
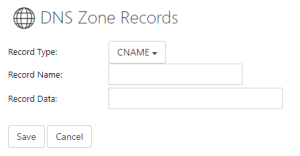
5. Click “Add record“:-
![]()
6. Select “CNAME” at the “Record Type” and apply the other record shown from steps 7 and click “Save“.
Here the info General DNS Propagation Information.